[Spring] STS(Spring Tool Suite 3) 설치 및 실행 방법
안녕하세요~ 델라입니다🖐
오늘은 앞으로 올릴 Spring Framework 관련 자세한 내용에 앞서
STS(Spring Tool Suite 3) 설치 방법과 프로젝트 생성 및 실행 방법에 대해 알아보겠습니다.
먼저 다음 사이트에 접속해주세요.
Spring Tools 4 is the next generation of Spring tooling
Largely rebuilt from scratch, Spring Tools 4 provides world-class support for developing Spring-based enterprise applications, whether you prefer Eclipse, Visual Studio Code, or Theia IDE.
spring.io
접속한 뒤 스크롤을 아래로 쭉 내리면
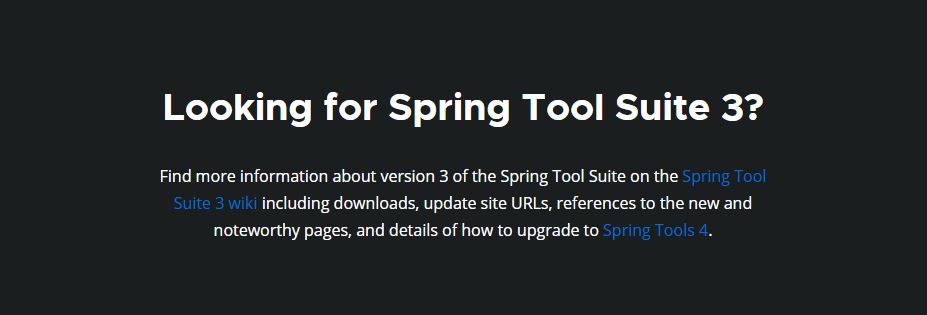
이런 화면을 볼 수 있습니다.
여기서 파란 글씨로 Spring Tool Suite 3 wiki라고 써져있는 부분을 클릭해주세요.
그러면 다음 github의 주소로 이동하게 됩니다.
https://github.com/spring-projects/toolsuite-distribution/wiki/Spring-Tool-Suite-3
spring-projects/toolsuite-distribution
the distribution build for the Spring Tool Suite and the Groovy/Grails Tool Suite - spring-projects/toolsuite-distribution
github.com
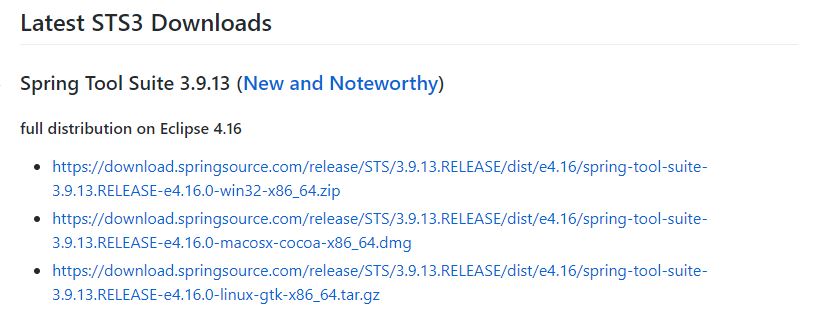
여기서 Latest STS3 Downloads라는 굵은 글씨의 제목 아래에
Spring Tool Suite 3.9.13 버전의 full distribution on Eclipse 4.16 버전을 다운로드합니다.
zip 파일, dmg파일, tar파일 총 세 가지 확장자 파일이 있는데 그중 맨 위에 있는 zip 파일을 받아주세요.
다운로드한 zip 파일의 압축을 풀면 sts-bundle이라는 폴더가 생기는데
폴더 안의 sts-3.9.13.RELEASE 폴더에 있는 STS 응용프로그램을 실행시킵니다.
그러면 프로그램이 로딩되고 잠시 후 다음과 같은 창이 뜹니다.
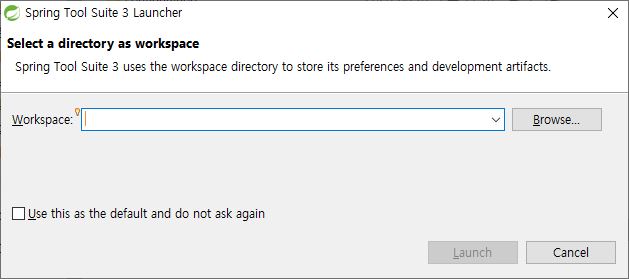
Browse... 를 클릭하여 앞으로 project를 보관할 workspace의 경로를 지정해주고 Lanch를 눌러 실행시켜주세요.
이렇게 하면 STS의 설치와 실행은 끝이 났습니다. 간단하죠?😁
다음 게시글에서는 STS 기본 설정 및 프로젝트 생성 방법을 알아보겠습니다.